Today I unpacked our last box!
I know most of you are more responsible than me, and you have the self-control to unpack before you decorate. Not the case with me, I’m afraid. I can unpack and organize for a few hours and then I absolutely must take a break and do something creative.
I know most of you are more responsible than me, and you have the self-control to unpack before you decorate. Not the case with me, I’m afraid. I can unpack and organize for a few hours and then I absolutely must take a break and do something creative.
Thankfully, my husband is patient with this. Though the poor man would much prefer I unpack before playing, he has helped me build frames and hang curtains even while boxes sat around, waiting to be unpacked.
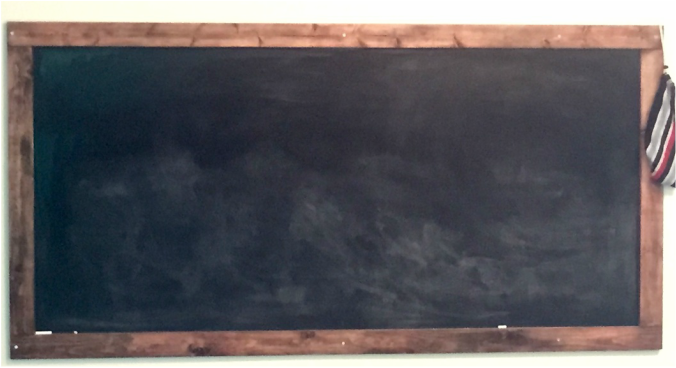
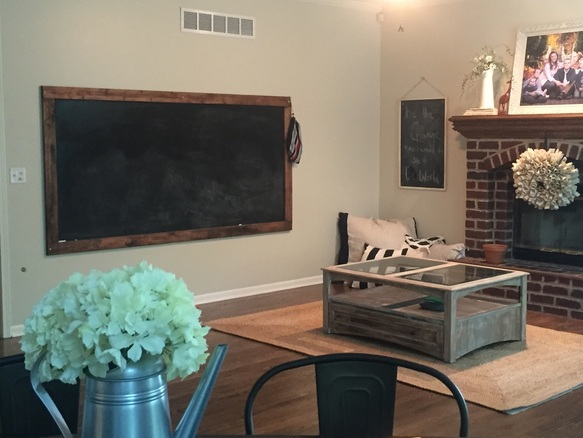
This giant chalkboard is one of my favorite projects in our home thus far, though we have already done many. Here are some sneak peaks at other things I was working on while I should have been unpacking.
This giant chalkboard is one of my favorite projects in our home thus far, though we have already done many. Here are some sneak peaks at other things I was working on while I should have been unpacking.
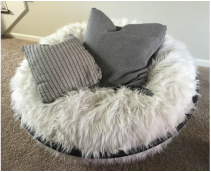 Rocking Papasan Nest | 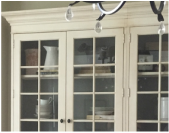 White Hutch | 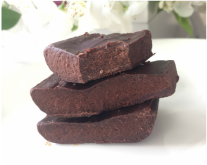 Creamy, maple syrup chocolates | 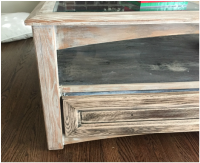 Coffee Table turned Lego Table |
I’ll get the details of all those projects on the site eventually, but for now I’d love to show you how CHEAP and EASY it is to make this enormous chalkboard!
I took our inspiration from these two great tutorials:
Eleven Magnoilia Lane
Dear Lillie
I took our inspiration from these two great tutorials:
Eleven Magnoilia Lane
Dear Lillie
Dear Lillie Supplies:
- Large wood board or sheet of plywood
- 2x4 ‘s to build the frame (make your dimensions based on the size of your wood board)
- Long screws and drill or screw driver
- Chalkboard paint ( I already had this on hand. You don’t need much)
- Wood stain (Already had this on hand too)
We started by going to the hardware store and picking out a large wood board, similar plywood. I don’t remember exactly what it was called, but it’s right next to the plywood and costs even less. We paid around $13 for this wood board.
We decided not to cut down the board at all, but just used it at it's full size.
We made the frame without mitered corners, using the same method as Dear Lillie. After cutting the 2x4’s to size, I painted three coats of chalkboard paint onto the wood board, and then let it dry overnight.
The next day, my husband attached the 2x4 frame to the chalkboard with a few screws.

I stained the frame after it was already assembled, using Old English Walnut Gel Stain.
We hung the chalkboard by screwing through the frame, directly into studs on our wall. The hardest part was hanging it up, but we had some fabulous friends come help us with that part.
We LOVE having this chalkboard right in the center of the house, and we use it daily.
We hung the chalkboard by screwing through the frame, directly into studs on our wall. The hardest part was hanging it up, but we had some fabulous friends come help us with that part.
We LOVE having this chalkboard right in the center of the house, and we use it daily.
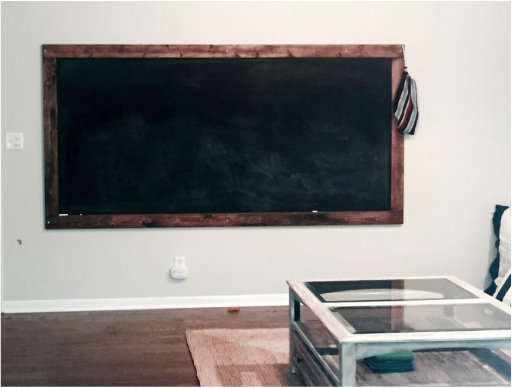
I like to write a new scripture at the top each week, and then the bottom of the chalkboard is left open for the kids. They use it for free drawing, Pictionary and Hangman, and occasionally for practicing their Elvin signatures...hahaa! I love my Tolkein obsessed tween boy.
With every project like this one, this house is starting to feel a little more like our home.
With every project like this one, this house is starting to feel a little more like our home.


 RSS Feed
