
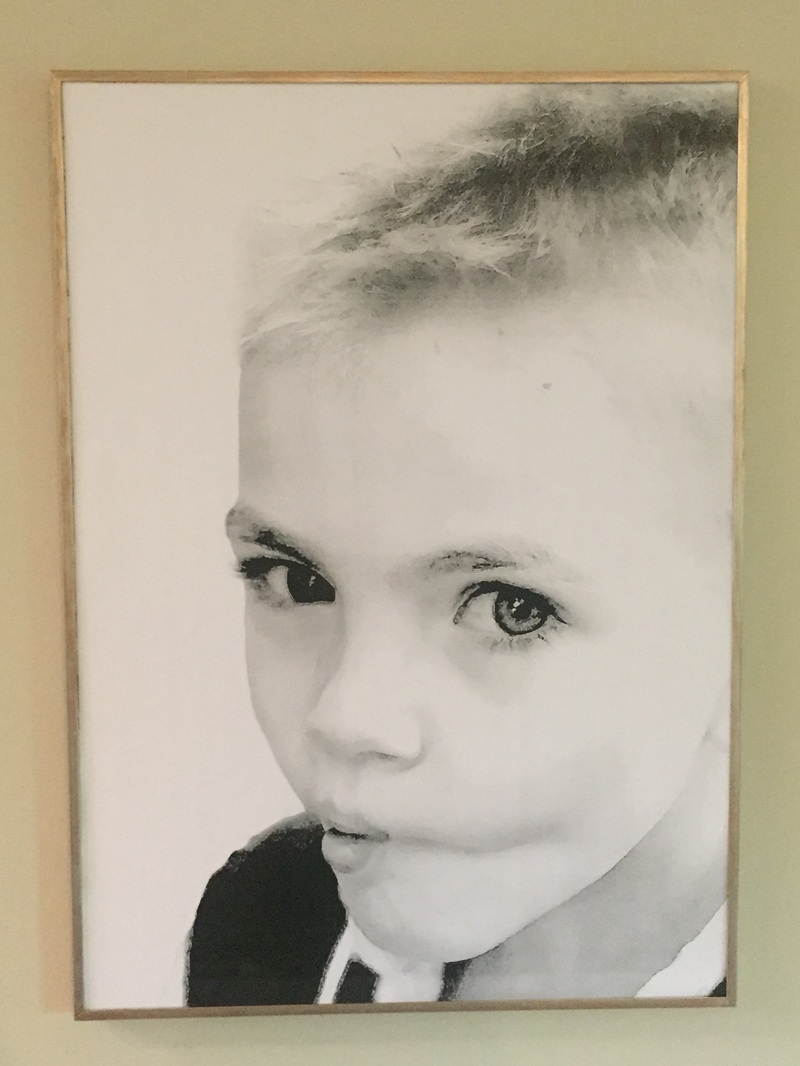
When it comes to pictures of this little squish, the bigger the better. Oh how I love wandering into the living room throughout the day to see my four boys, larger than life in front of me.
Even better...these pictures cost less than $2 to print, so updating them each year will be easy and cheap. Engineering Prints are definitely a new obsession for me. You can print up to 36 x 48...(thats the size of a big screen tv) for only $7. Endless possibilities here.
Even better...these pictures cost less than $2 to print, so updating them each year will be easy and cheap. Engineering Prints are definitely a new obsession for me. You can print up to 36 x 48...(thats the size of a big screen tv) for only $7. Endless possibilities here.
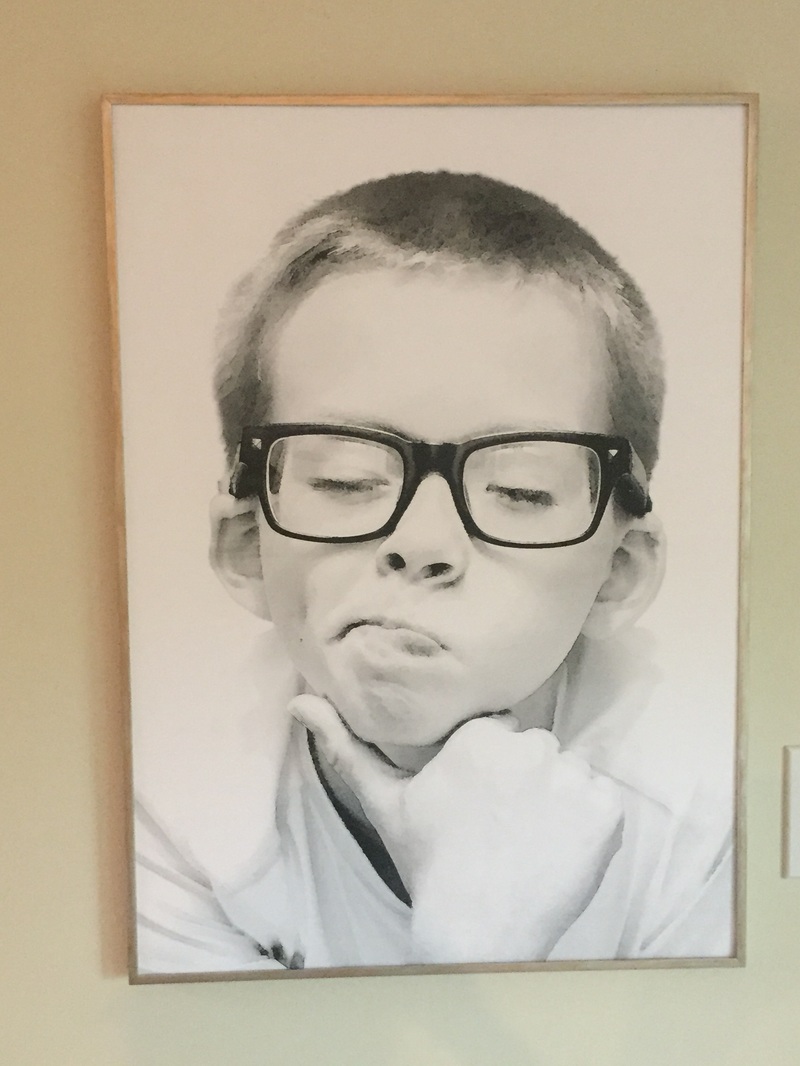
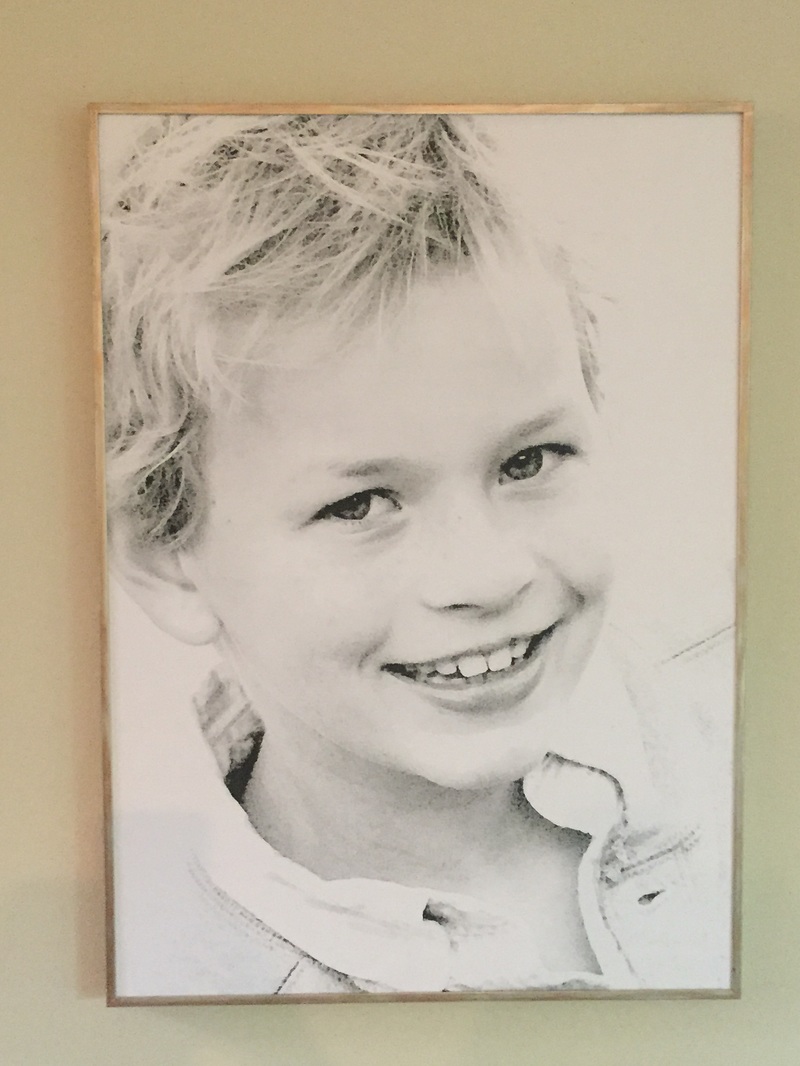
I took some images of the boys, converted them to black and white and used a watercolor filter to soften the affect. Then I e-mailed them to Staples and had them printed as 18x24 engineering prints.
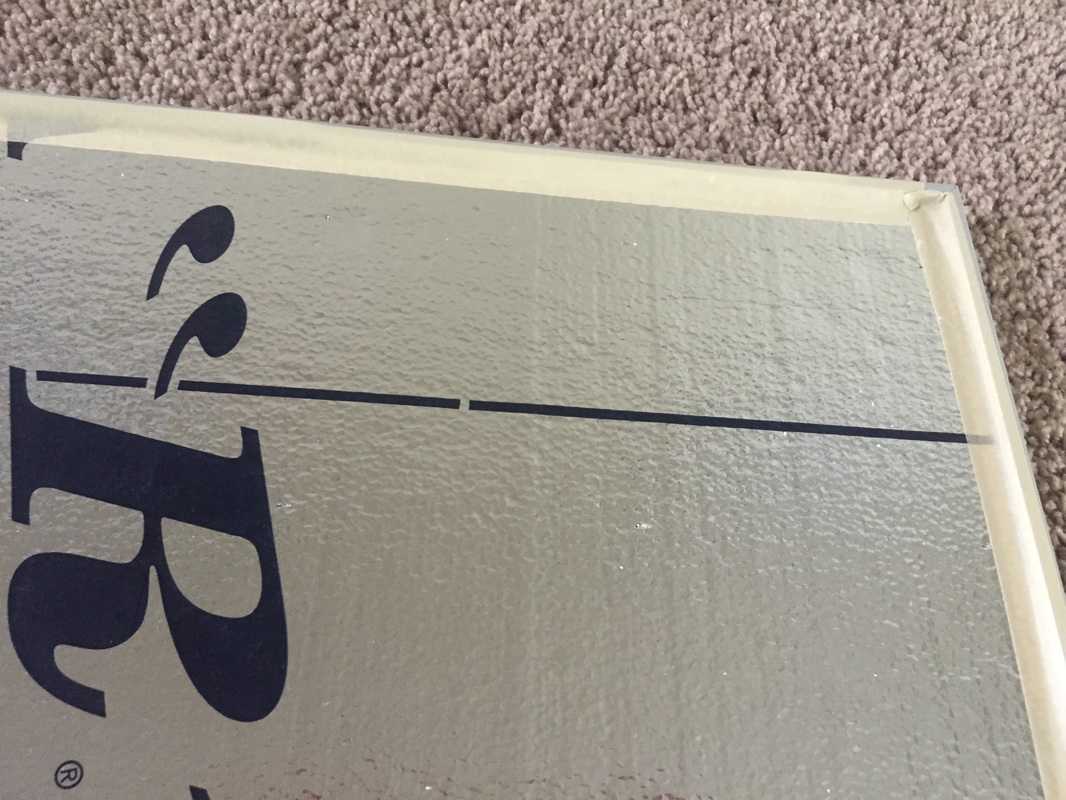
The rule with engineering prints is that you can only have up to 20% color in your image, so this really only works for grayscale. Once I picked up the prints, I was worried at how thin and delicate the engineering paper was. They really needed to be mounted, and the cheapest way to do that is with insulation board from the hardware store.
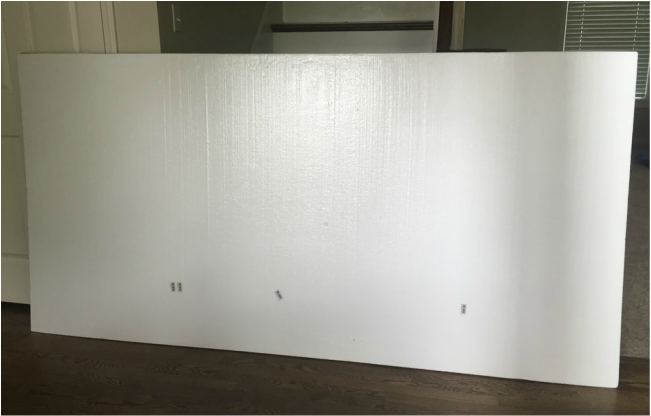
Insulation board is mammoth! It comes in a 4 x 8 ft and costs right under $10. Try carrying it through the store while pushing a cart filled with a two-year-old and a stack of lumber. Or, don't try that actually.
Thankfully in my case a fellow shopper who was unencumbered by toddler and timber took pity on me, carrying the foam board to the front for me. Embarrassing, and very kind.
Thankfully in my case a fellow shopper who was unencumbered by toddler and timber took pity on me, carrying the foam board to the front for me. Embarrassing, and very kind.
Insulation board basically looks like styrofoam on the front with a silver backing. It's messy, but easy to cut with a box cutter, razor blade, or even a kitchen knife it needed.
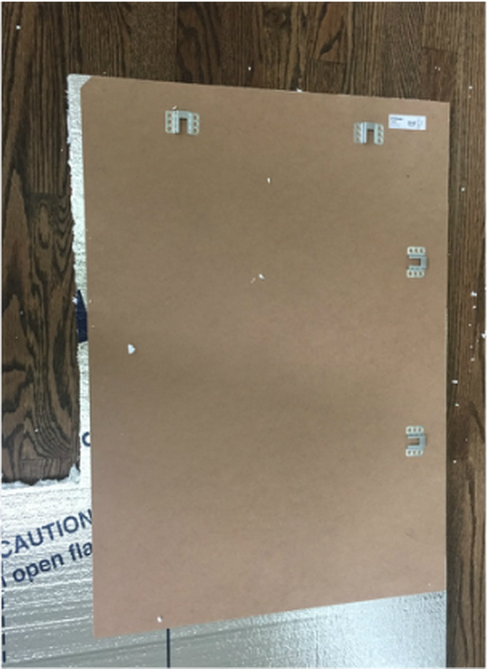
Lay the back of the picture frame on the insulation board and simply cut around it. (If you try to lay the engineering print directly on the foam board, you'll damage the print. The paper is far too
delicate.)
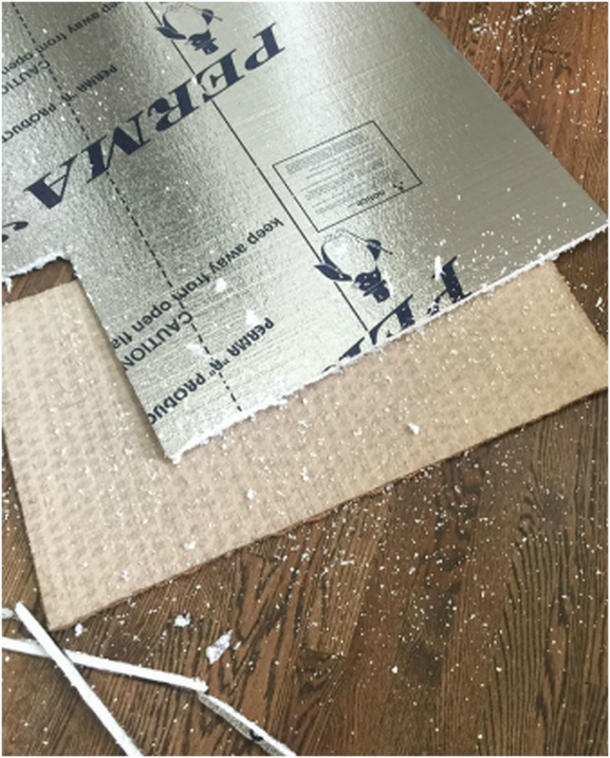
I used a large broken down box as a "cutting board," to protect my floors while I sliced through the insulation board.
Lay the back of the picture frame on the insulation board and simply cut around it. (If you try to lay the engineering print directly on the foam board, you'll damage the print. The paper is far too
delicate.)
I used a large broken down box as a "cutting board," to protect my floors while I sliced through the insulation board.
Once your foam board is cut to size, you can mount the print right onto the white side of the foam. I used spray glue, (which looks like a can of spray paint and is just as potent. Only use spray glue outside!!
Lightly spray the back side of the print as well as the white side of the foam board. Then gently lay the print over the foam and press it smooth.
If your alignment is off and the picture is off center, dont worry! The glue stays tacky for several, minutes so the print can be moved around a bit. Just be very gentle!
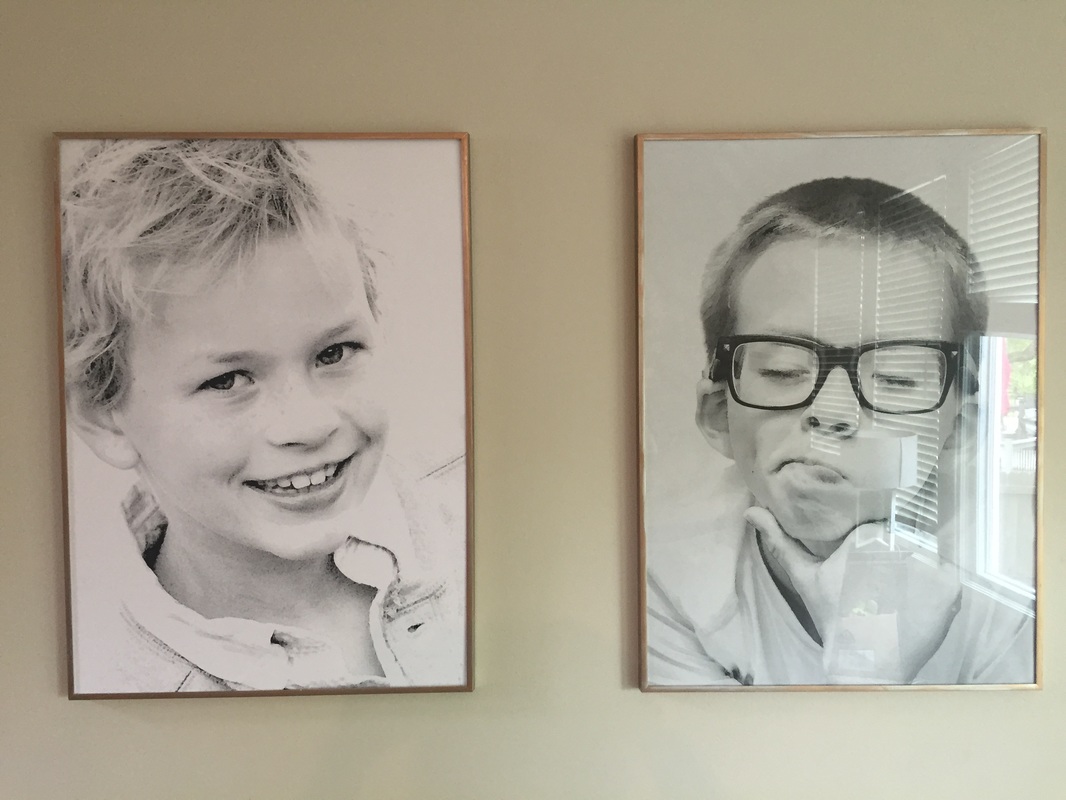
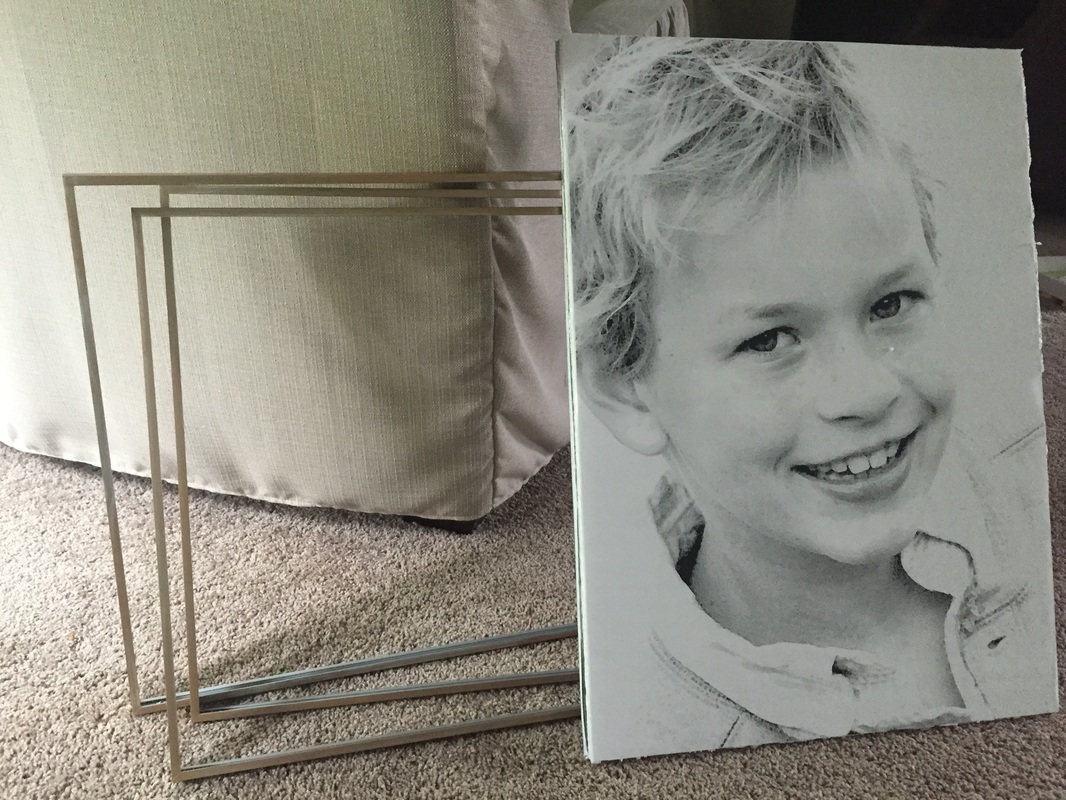
The picture frames are Stromby from IKEA. They were a shiny silver at first, but I messed with them and ended up with a distressed, coppery finish.
See that awful glare on the right picture? Yup, that had to go. We found that the mounting the prints on foam is perfectly sturdy while looking crisp and professional. (I did store the glass in the basement in case we ever want to use it with these frames in the future. Doubtful, but possible.)
When I took the back off the Stromby frame, it seemed the glass was glued into the frame itself. I panicked for a moment and then my husband came over and coaxed the glass out. We learned that with a little gentle negotiation, we could get the glass out of the frames without trouble.
Place the mounted print right into the picture frame, then tape all along the back to hold it secure.
And thats it!
And thats it!
|
|
|

|


 RSS Feed
